
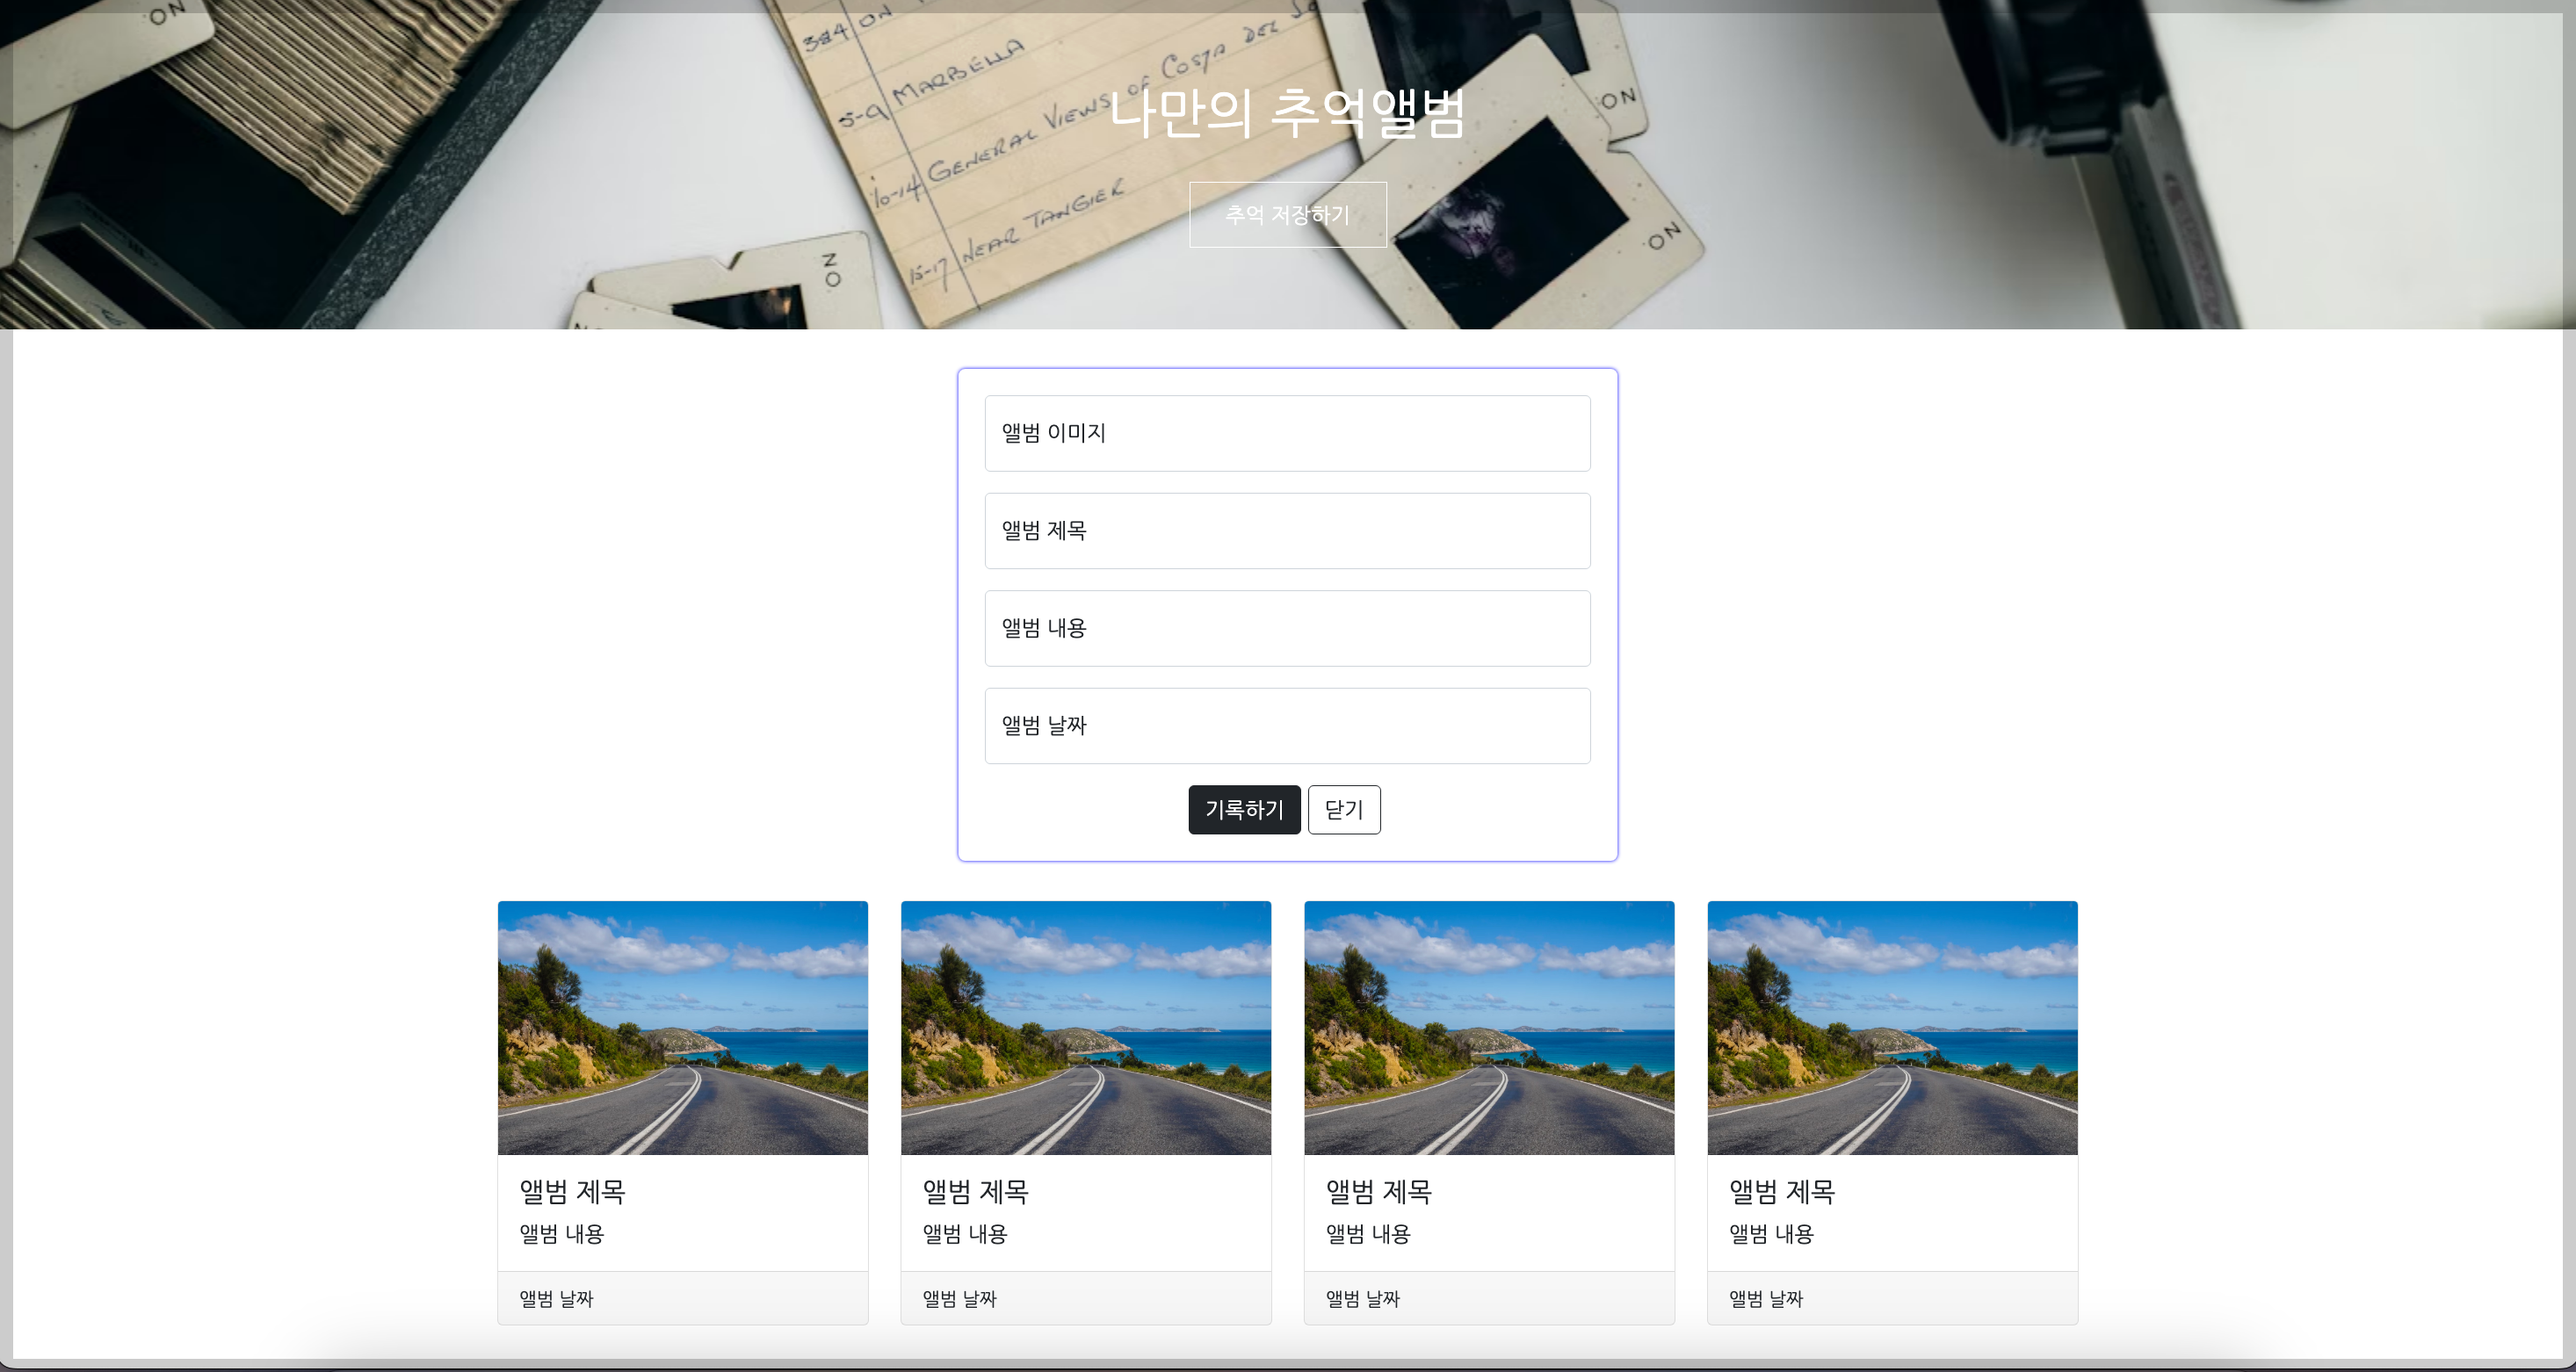
나만의 추억앨범 화면
웹개발 기본편 1주차에서 다뤄본 것은 나만의 추억앨범 겉 껍데기 만들기이다.
기능은 없고, 틀(html)과 꾸미기(css)만 사용했다.
HTML 코드
더보기
<!DOCTYPE html>
<html lang="en">

<head>
    <meta charset="UTF-8">
    <meta name="viewport" content="width=device-width, initial-scale=1.0">
    <title>나만의 추억앨범</title>
    <link href="https://cdn.jsdelivr.net/npm/bootstrap@5.0.2/dist/css/bootstrap.min.css" rel="stylesheet"
        integrity="sha384-EVSTQN3/azprG1Anm3QDgpJLIm9Nao0Yz1ztcQTwFspd3yD65VohhpuuCOmLASjC" crossorigin="anonymous">

    <style>
        @import url('https://fonts.googleapis.com/css2?family=Dongle&family=Nanum+Gothic&display=swap');

        * {
            font-family: "Nanum Gothic", sans-serif;
        }

        .mytitle {
            background-color: green;
            height: 250px;
            color: white;

            display: flex;
            flex-direction: column;
            align-items: center;
            justify-content: center;

            background-image: url('https://images.unsplash.com/photo-1511992243105-2992b3fd0410?ixlib=rb-4.0.3&ixid=M3wxMjA3fDB8MHxwaG90by1wYWdlfHx8fGVufDB8fHx8fA%3D%3D&auto=format&fit=crop&w=1470&q=80');
            background-position: center;
            background-size: cover;
        }

        .mytitle>button {
            width: 150px;
            height: 50px;
            background-color: transparent;
            color: white;
            border: 1px solid white;
            margin-top: 20px;
        }

        .mycards {
            width: 1200px;
            margin: 30px auto 0 auto;
        }

        .mypostingbox {
            width: 500px;
            margin: 30px auto 0 auto;
            padding: 20px;
            box-shadow: 0px 0px 3px 0px blue;
            border-radius: 5px;
        }

        .mybtn {
            display: flex;
            flex-direction: row;
            align-items: center;
            justify-content: center;
        }

        .mybtn>button {
            margin-right: 5px;
        }
    </style>
</head>

<body>
    <div class="mytitle">
        <h1>나만의 추억앨범</h1>
        <button>추억 저장하기</button>
    </div>
    <div class="mypostingbox">
        <div class="form-floating mb-3">
            <input type="email" class="form-control" id="floatingInput" placeholder="앨범 이미지">
            <label for="floatingInput">앨범 이미지</label>
        </div>
        <div class="form-floating mb-3">
            <input type="email" class="form-control" id="floatingInput" placeholder="앨범 제목">
            <label for="floatingInput">앨범 제목</label>
        </div>
        <div class="form-floating mb-3">
            <input type="email" class="form-control" id="floatingInput" placeholder="앨범 내용">
            <label for="floatingInput">앨범 내용</label>
        </div>
        <div class="form-floating mb-3">
            <input type="email" class="form-control" id="floatingInput" placeholder="앨범 날짜">
            <label for="floatingInput">앨범 날짜</label>
        </div>
        <div class="mybtn">
            <button type="button" class="btn btn-dark">기록하기</button>
            <button type="button" class="btn btn-outline-dark">닫기</button>
        </div>
    </div>
    <div class="mycards">
        <div class="row row-cols-1 row-cols-md-4 g-4">
            <div class="col">
                <div class="card h-100">
                    <img src="https://images.unsplash.com/photo-1446768500601-ac47e5ec3719?ixlib=rb-4.0.3&ixid=M3wxMjA3fDB8MHxwaG90by1wYWdlfHx8fGVufDB8fHx8fA%3D%3D&auto=format&fit=crop&w=1446&q=80"
                        class="card-img-top" alt="...">
                    <div class="card-body">
                        <h5 class="card-title">앨범 제목</h5>
                        <p class="card-text">앨범 내용</p>
                    </div>
                    <div class="card-footer">
                        <small class="text-body-secondary">앨범 날짜</small>
                    </div>
                </div>
            </div>
        </div>
    </div>
</body>

</html>
배운 내용 정리
1) 꾸미기 위해서는 `class`를 지정해주어야 한다.
<head>
    <style>
        .mytitle {
            background-color: green;
            height: 250px;
            color: white;

            display: flex;
            flex-direction: column;
            align-items: center;
            justify-content: center;

            background-image: url('https://images.unsplash.com/photo-1511992243105-2992b3fd0410?ixlib=rb-4.0.3&ixid=M3wxMjA3fDB8MHxwaG90by1wYWdlfHx8fGVufDB8fHx8fA%3D%3D&auto=format&fit=crop&w=1470&q=80');
            background-position: center;
            background-size: cover;
        }
    </style>
</head>
<body>
    <div class="mytitle">
        <h1>나만의 추억앨범</h1>
        <button>추억 저장하기</button>
    </div>
</body>
2) `margin`, `padding`은 여백을 조정할 때 사용한다.
- margin : 바깥쪽 여백
- padding : 안쪽 여백
3) 구역을 나눌 땐 `div`를 사용한다.
4) <style> 태그 내부에 정의된 `*`는 모든 태그에 적용하겠다는 의미이다.
<head>
    <style>
        @import url('https://fonts.googleapis.com/css2?family=Dongle&family=Nanum+Gothic&display=swap');

        * {
            font-family: "Nanum Gothic", sans-serif;
        }
    </style>
</head>style 태그 내부에서 글꼴을 import 하고, `*`를 이용해서 모든 태그에 적용한다는 의미
5) 중앙에 오도록 꾸밀때 자주 사용됨
display: flex;
flex-direction: column;
align-items: center;
justify-content: center;
6) 백그라운드에 이미지 넣을 때 자주 사용됨
background-image: url('url 입력');
background-position: center;
background-size: cover;
참고: 스파르타코딩클럽 [왕초보] 웹개발 종합반 1주차 강의 내용 정리
'웹 개발' 카테고리의 다른 글
| 팀 소개 웹 페이지 만들기 (미니 프로젝트 과정 소개) (6) | 2024.09.02 |
|---|---|
| 웹개발 기본편 2주차 (0) | 2024.08.26 |